The challenge for this round is called Picture Perfect. Project Food blog would like us to use our amazing photographic skills to show you an instructional, step-by-step photo tutorial.
Bugger, thought I. This is where I could really do with my sister Emma's help. Emma, the professional food and travel photographer, who should be helping me but just can't drop by today and give me a hand because she's in Brisbane, Australia, and I'm in Shanghai, PRC. Bugger.
So I called her up this morning and had a very expensive long-distance chat because I thought she might have some really fabulous technical tips for all of us budding food photographers. Like how to make a hunk of raw meat attractive, or more specifically, how to make the ugliest duck in the world look lovely in a photo. She told me I wasn't really an ugly duck, although I was getting old.
I'm talking about the recipe! I said. Not me! Oh please.......
Here's what she said:
 Emma's Tips for Technically Great Food Photos (and Fiona's Reality Check)
1. Photograph in a room with good natural light (No worries, I'll just move the entire small dark Chinese kitchen to a sunnier part of the house). The light should come from the side and slightly in front of you, so that shadows fall away behind you.
2. Minimise shadows with a reflector or white drapes (I just made the bed. Now I have to take the sheets off again and hang them up in the living room? Are you serious?)

3. Use a tripod to get a different perspective on the dishes. If you have time, take shots from 3 different heights or angles for maximum interest (Oh yes, I'll just debone that duck, race around to the other side of the camera and with my greasy dirty hands take 3 different and wildly interesting shots. Sure thing.)
4. If photographing unaided, use manual focus and a self-timer with a 20 second delay - time to position, then to relax. Otherwise, use a remote control held in your mouth. (Easy see? No hands! And can I make it work? No!)
 5. Always have clean hands and fingernails. (Are you truly serious? In addition to the cooking, the photography, the styling and the writing, now I have to find time to get a manicure?? For.get.it...)
7. Avoid blue plates. It doesn't look that appetising. (Emma's view, not mine. I quite like blue plates....)
8. Always give the food left at the end of the shoot to the photographer (Oh! that's me!)
Anyhow....down to the real photo-tutorial.
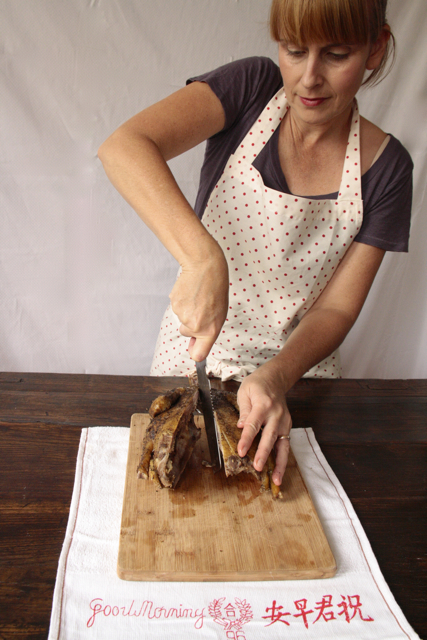
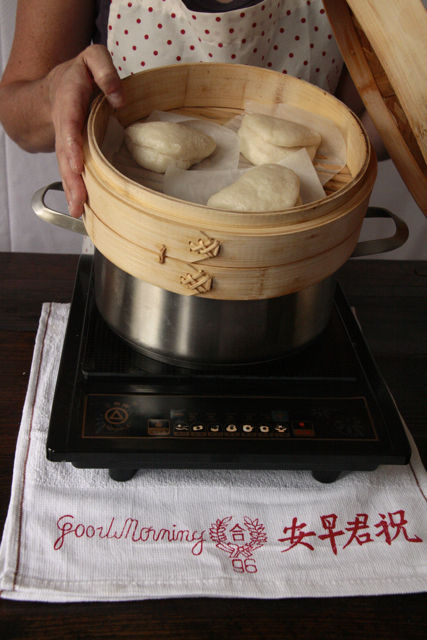
 Kylie Kwong is an Australian Chinese chef and author, whose Sydney restaurant, Billy Kwong, is an all-time favourite of mine. Her signature dish is featured today - Crispy Skin Duck with Blood Plum Sauce, an intense sweet-savoury, spicy and tart combination with sour plums and twice cooked duck. It's fabulous. I've served it with Chinese steamed buns from a recipe by David Chang of Momofuku fame. These sweet little steamed breads are very traditional in China's north, and they're easy and fun to make.
So today I'm going to teach you how to make both of these dishes, and when we're done, I will have cooked my first duck at home, ever. Thanks PFB, I'm not afraid any more! I will cook duck! I will deep fry it! I will debone it! I will remember to debone it first and then deep fry it! Here goes....
Crispy Skin Duck with Blood Plum Sauce